DG-5F
![]()
5-finger robotic hand with fingertip force/torque sensors. Available in left and right hand variants.
Specifications
Parameter |
Value |
|---|---|
Model ID (Left) |
|
Model ID (Right) |
|
Fingers |
5 |
Joints |
20 (4 per finger) |
F/T Sensor |
Yes (6-axis per fingertip) |
GPIO |
Yes (3 outputs, 1 input) |
Packages
Package |
Description |
|---|---|
|
URDF/xacro model, meshes, and RViz display launch files |
|
ros2_control hardware driver, controller configs, and launch files |
|
Gazebo simulation launch files |
|
MoveIt 2 configuration (SRDF, planners, mock hardware) |
Joint Naming Convention
Each joint is named Xj_dg_F_J where:
X=r(right hand) orl(left hand)F= finger number (1-5)J= joint number within the finger (1 = base, 4 = tip)
For example, rj_dg_3_2 is the right hand, finger 3, joint 2.
Launch Files
The DG-5F provides several launch files, each starting a different controller type. You only need to run one at a time.
Driver Launch Files (Hardware Connection)
These launch files connect to the physical gripper and start a controller:
Launch File |
Controller Type |
Description |
|---|---|---|
|
Joint Trajectory Controller |
Right hand with JTC (position control with PID) |
|
Joint Trajectory Controller |
Left hand with JTC (position control with PID) |
|
JointGroupEffortController |
Right hand with direct effort (current) control |
|
JointGroupEffortController |
Left hand with direct effort (current) control |
|
PidController (per joint) |
Right hand with individual PID controllers, one per joint |
|
PidController (per joint) |
Left hand with individual PID controllers, one per joint |
|
PidController (grouped) |
Right hand with a single grouped PID controller for all joints |
|
PidController (grouped) |
Left hand with a single grouped PID controller for all joints |
|
PidController (grouped) |
Both hands simultaneously with grouped PID controllers |
Visualization and Simulation
Launch File |
Package |
Description |
|---|---|---|
|
|
RViz visualization with joint sliders (right hand) |
|
|
RViz visualization with joint sliders (left hand) |
|
|
Gazebo simulation (right hand) |
|
|
Gazebo simulation (left hand) |
|
|
Gazebo simulation (both hands) |
Launch Arguments
All driver launch files accept these arguments:
Argument |
Default |
Description |
|---|---|---|
|
|
IP address of the gripper |
|
|
TCP port of the gripper |
|
|
Enable reading F/T sensor data from the hardware |
|
|
Enable broadcasting F/T data as ROS 2 topics |
|
|
Enable GPIO interfaces |
The dual-hand launch file (dg5f_both_pid_all_controller.launch.py) uses different argument names for the two grippers:
Argument |
Default |
Description |
|---|---|---|
|
|
Right gripper IP |
|
|
Right gripper port |
|
|
Left gripper IP |
|
|
Left gripper port |
Example:
ros2 launch dg5f_driver dg5f_right_driver.launch.py delto_ip:=192.168.1.100 fingertip_sensor:=true ft_broadcaster:=true
Understanding the Controller Types
Note
New to ros2_control? A “controller” in ros2_control is a software component that processes commands and sends them to the hardware. Different controllers accept different types of input and have different behaviors. All of them ultimately send effort (current) commands to the gripper motors – the difference is in how they compute those commands.
Joint Trajectory Controller (JTC) – Default
What it does: Accepts a desired trajectory (a series of target positions over time) and uses a PID loop to smoothly move the joints to those positions. This is the most common controller for pick-and-place applications.
When to use: When you want position control. When using MoveIt. When you want smooth, coordinated multi-joint motion.
Launch: dg5f_right_driver.launch.py
How to send commands:
ros2 action send_goal /dg5f_right/dg5f_right_controller/follow_joint_trajectory control_msgs/action/FollowJointTrajectory "{
  trajectory: {
    joint_names: [rj_dg_1_1, rj_dg_1_2, rj_dg_1_3, rj_dg_1_4],
    points: [
      {positions: [0.5, 0.5, 0.5, 0.5], time_from_start: {sec: 2, nanosec: 0}}
    ]
  }
}"
Config file: config/dg5f_right_controller.yaml
Key config values:
Update rate: 100 Hz
PID gains:
p=1.5, i=0.0, d=0.0(per joint)allow_partial_joints_goal: true– you can command a subset of joints
Effort Controller (Direct Current)
What it does: Passes your effort values directly to the hardware with no feedback loop. You have full control over the motor current.
When to use: When you are implementing your own control loop externally. When you need direct force/torque control. For research and experimentation.
Launch: dg5f_right_effort_controller.launch.py
How to send commands:
ros2 topic pub /dg5f_right/effort_controller/commands std_msgs/msg/Float64MultiArray "{data: [0.0, 0.0, 0.0, 0.0, 0.0, 0.0, 0.0, 0.0, 0.0, 0.0, 0.0, 0.0, 0.0, 0.0, 0.0, 0.0, 0.0, 0.0, 0.0, 0.0]}" --once
The array must contain exactly 20 values (one per joint, in order).
Config file: config/dg5f_right_effort_controller.yaml
Key config values:
Update rate: 300 Hz
PID Controller (Per-Joint)
What it does: Creates one pid_controller/PidController instance for each joint. Each accepts a position reference and outputs an effort command through its own PID loop.
When to use: When you want to control individual joints independently with different position targets. When you want per-joint PID tuning.
Launch: dg5f_right_pid_controller.launch.py
How to send commands (to a single joint):
ros2 topic pub /dg5f_right/rj_dg_1_1_pospid/reference std_msgs/msg/Float64 "{data: 0.5}" --once
Each joint has its own topic: /dg5f_right/rj_dg_X_Y_pospid/reference.
Config file: config/dg5f_right_pid_controller.yaml
PID Controller (Grouped)
What it does: A single pid_controller/PidController instance that controls all 20 joints together. Accepts a multi-array of position references.
When to use: When you want position control for all joints at once through a simple topic interface (simpler than JTC action interface).
Launch: dg5f_right_pid_all_controller.launch.py
How to send commands:
ros2 topic pub /dg5f_right/rj_dg_pospid/reference std_msgs/msg/Float64MultiArray "{data: [0.5, 0.5, 0.5, 0.5, 0.0, 0.0, 0.0, 0.0, 0.0, 0.0, 0.0, 0.0, 0.0, 0.0, 0.0, 0.0, 0.0, 0.0, 0.0, 0.0]}" --once
Config file: config/dg5f_right_pid_all_controller.yaml
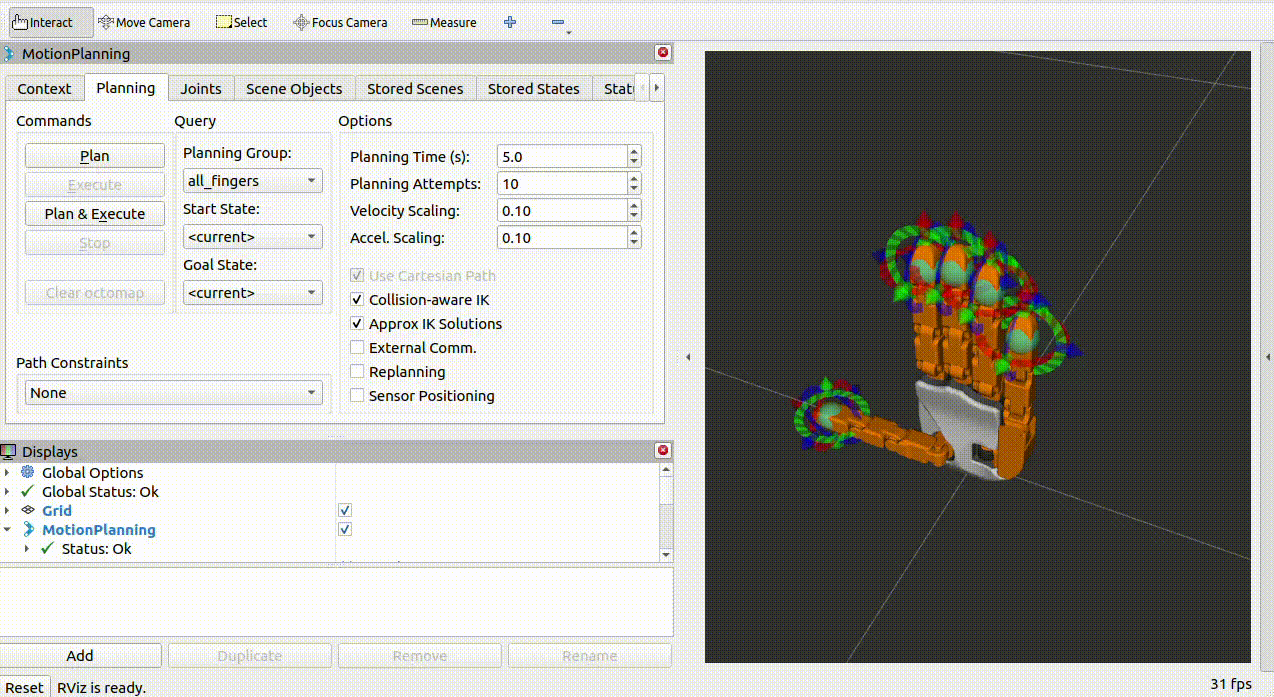
MoveIt Integration
The dg5f_moveit_config package provides MoveIt 2 motion planning for the DG-5F. It includes mock hardware support via mock_components/GenericSystem, so you can test motion planning without a physical gripper.
MoveIt Launch Files
Launch File |
Package |
Description |
|---|---|---|
|
|
Right hand MoveIt (mock or real) |
|
|
Left hand MoveIt (mock or real) |
Mock Hardware (No Device Required)
Use mock_components/GenericSystem to simulate the gripper. Position commands are mirrored directly to joint states.
# Mock hardware (default)
ros2 launch dg5f_moveit_config dg5f_right_moveit.launch.py use_mock:=true
You can also run the mock driver standalone (without MoveIt):
ros2 launch dg5f_driver dg5f_right_mock.launch.py
Real Hardware with MoveIt
ros2 launch dg5f_moveit_config dg5f_right_moveit.launch.py use_mock:=false delto_ip:=169.254.186.72
MoveIt Launch Arguments
Argument |
Default |
Description |
|---|---|---|
|
|
Use mock hardware ( |
|
|
Gripper IP (real hardware only) |
|
|
Gripper port (real hardware only) |
Planning Groups
Group |
Joints |
|---|---|
|
|
|
|
|
|
|
|
|
|
|
All 20 joints |
Named States
State |
Description |
|---|---|
|
All joints at 0.0 (zero pose) |
F/T Sensor Setup
The DG-5F has a 6-axis force/torque sensor on each fingertip (5 sensors total). To use them:
Step 1: Launch with both sensor flags enabled:
ros2 launch dg5f_driver dg5f_right_driver.launch.py fingertip_sensor:=true ft_broadcaster:=true
Step 2: Check the F/T topics (one per finger):
ros2 topic list | grep fingertip
You will see topics like:
/dg5f_right/fingertip_1_broadcaster/wrench
/dg5f_right/fingertip_2_broadcaster/wrench
/dg5f_right/fingertip_3_broadcaster/wrench
/dg5f_right/fingertip_4_broadcaster/wrench
/dg5f_right/fingertip_5_broadcaster/wrench
Step 3: Read sensor data:
ros2 topic echo /dg5f_right/fingertip_1_broadcaster/wrench --once
Step 4: Calibrate the sensors (zero the offset):
ros2 service call /dg5f_right/delto_hardware_interface_node/set_ft_sensor_offset std_srvs/srv/Trigger
Note
The F/T broadcaster uses the standard force_torque_sensor_broadcaster/ForceTorqueSensorBroadcaster from ros2_controllers. Each broadcaster publishes a geometry_msgs/msg/WrenchStamped message containing force (x, y, z) and torque (x, y, z) readings.
Topics Published
When the driver is running, these topics are available (namespace: /dg5f_right/):
Topic |
Type |
Description |
|---|---|---|
|
|
Position, velocity, and effort for all 20 joints |
|
|
URDF robot description |
|
|
Controller state (JTC only) |
|
|
F/T sensor data for finger N (if enabled) |
Services
The hardware interface creates several ROS 2 services. Replace <ns> with your gripper’s namespace (e.g., dg5f_right).
/<ns>/delto_hardware_interface_node/set_ft_sensor_offsetType:
std_srvs/srv/TriggerZero-calibrate all fingertip F/T sensors. Call when nothing is touching the fingertips.
/<ns>/set_gpio_output1Type:
std_srvs/srv/SetBoolSet GPIO output 1 (
true= high,false= low)/<ns>/set_gpio_output2Type:
std_srvs/srv/SetBoolSet GPIO output 2
/<ns>/set_gpio_output3Type:
std_srvs/srv/SetBoolSet GPIO output 3
Dual-Hand Setup
To control both left and right hands simultaneously:
ros2 launch dg5f_driver dg5f_both_pid_all_controller.launch.py \
  dg5f_right_ip:=10.10.20.72 \
  dg5f_left_ip:=10.10.20.73
This creates a single controller manager under the namespace dg5f_both with two hardware interfaces (one per hand). The PID controllers are named:
rj_dg_pospid– right hand jointslj_dg_pospid– left hand joints
Send commands to each hand independently:
# Right hand
ros2 topic pub /dg5f_both/rj_dg_pospid/reference std_msgs/msg/Float64MultiArray "{data: [0.5, 0.5, 0.5, 0.5, 0.0, 0.0, 0.0, 0.0, 0.0, 0.0, 0.0, 0.0, 0.0, 0.0, 0.0, 0.0, 0.0, 0.0, 0.0, 0.0]}" --once

# Left hand
ros2 topic pub /dg5f_both/lj_dg_pospid/reference std_msgs/msg/Float64MultiArray "{data: [0.5, 0.5, 0.5, 0.5, 0.0, 0.0, 0.0, 0.0, 0.0, 0.0, 0.0, 0.0, 0.0, 0.0, 0.0, 0.0, 0.0, 0.0, 0.0, 0.0]}" --once
Hand Type
Left and right hands have different motor direction arrays. The hand type is determined by the Model ID in the URDF hardware parameters, and the correct motor mapping is applied automatically. You do not need to configure this manually – just use the correct launch file (left or right).
Firmware Note
Motor direction was revised in firmware v2.8+. The hardware interface automatically detects the firmware version and applies the correct motor direction mapping. No manual configuration is required.